How to Make a Personalized Calendar Online [Free Calendar Templates]

Have you ever thought of designing a personalized calendar? Although calendars are readily available online and offline, there’s something special about a personalized calendar. It could be a perfect gift for your loved ones, whose needs and choices you know. You can also send it to your clients and business partners, as it’s a unique opportunity to promote your brand or business while spreading a smile.
DocHipo’s calendar maker with pictures has various editable free calendar templates for 2024. Our professional designers have created them for a variety of use cases. After customizing, you can use them virtually as your laptop background and change them every month or print them as high quality.
How to Make a Personalized Calendar
- Choose a Calendar Template: Pick one that showcases the current calendar year and closely aligns with a theme you love.
- Customize the Visuals: Change the background picture and tweak the visual elements, such as icons, shapes, and lines, according to your design taste.
- Download, Publish, Print, or Share: Once you finish adding your personal touch, you can save it or share it with your family.
In this post, you’ll get many calendar design ideas and learn how to design your personalized calendar 2024 with DocHipo.
Calendar Design Ideas with Templates
Depending on whom you are designing the calendar for, you can use cherished family photos, best-captured moments, team photos, nature, travel, wildlife clicks, and so much more.
Number of months
Think of the number of months you want to have on each calendar page. It will impact the design a lot.
To get an idea or understanding of it, let’s look at the awesome templates by DocHipo. See how the adorable kids have enhanced the cuteness of this calendar, which has two months on a single page.

Get This Template and More
Now observe this calendar with the theme ‘nature,’ having three months on each page.

Get This Template and More
Nature calms every soul. We all have some favorite clicks of nature, lying on a laptop or phone. If you have clicked some fantastic pictures you are proud of, using them as the background pictures of your personalized calendar would be a great idea to look at them every day.
Shapes
Give wings to your ideas and imaginations with DocHipo’s design elements and mold them into a design that you’ll feel happy to look at throughout the year. Depending on the theme and the picture you are adding to your personalized calendar design, think of a shape, and experiment with the different shapes that will make the whole design meaningful or uniquely creative.
Let’s understand this with a few templates thoughtfully designed by DocHipo.

Get This Template and More
Now, who doesn’t love food?
Here, you can replace these pictures with the dishes you have prepared or the ones you love most. Since the theme here is food, a bowl is designed here.

Get This Template and More
Notice how thoughtfully the shape designed in this wildlife-themed calendar template is that of a bird’s shelter.

Get This Template and More
Illustrations and Stickers
Experiment with DocHipo’s massive collection of illustrations and stickers to add uniqueness to your calendar design.

Get This Template and More
See how illustrations have changed the vibe of this ‘Fashion’ themed calendar template by DocHipo.

Get This Template and More
If pictures of foods make you feel happy, just like it does for me, why not make it an excuse to look at them while checking your calendar frequently?
I love the application of stickers here; how the stickers have added a different flavor to the template.
Check out some more calendar templates 2023 from DocHipo for your design inspiration.

Get This Template and More
Look at this uniquely designed Fashion Calendar template.

Get This Template and More
With DocHipo’s online calendar maker, customization opportunities are endless. Now let’s walk you through making a calendar using DocHipo.
How to Make a Calendar Online with DocHipo?
If you are using DocHipo for the first time, you need to sign up for free to begin your fantastic journey of designing.
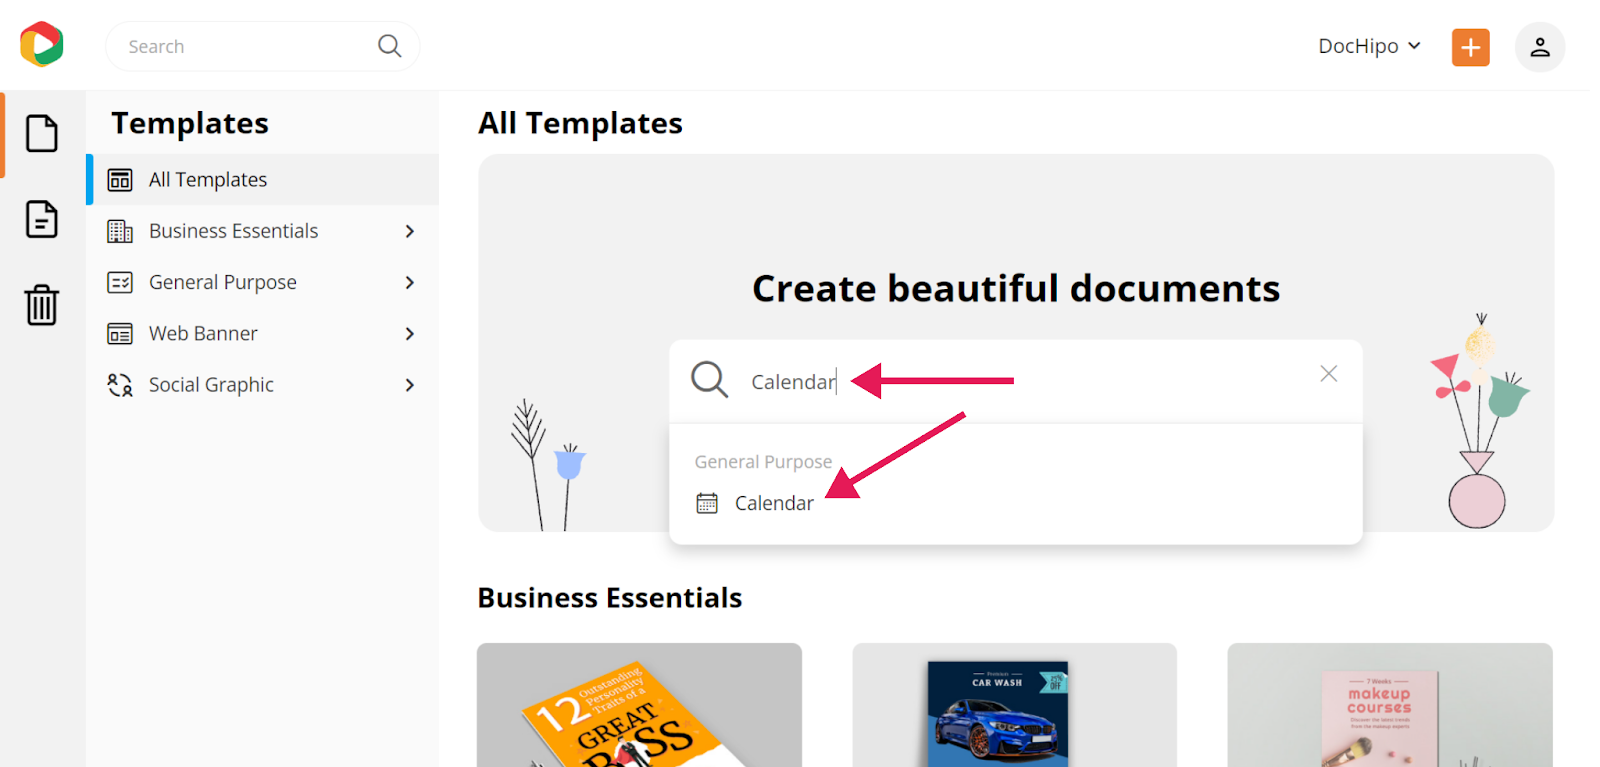
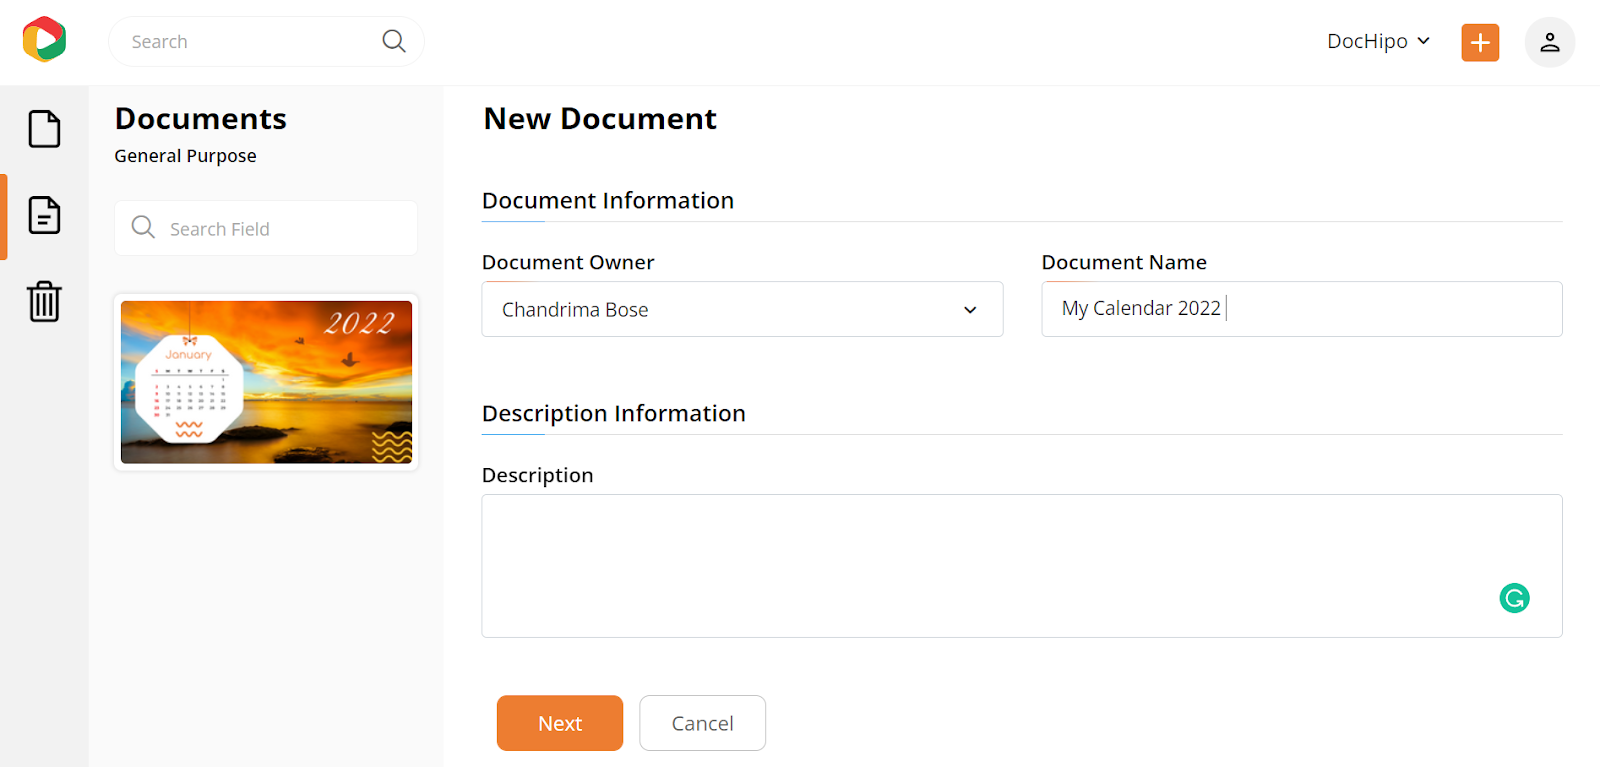
STEP 1: Choose a Calendar Template
After you sign up using your email address, you’ll see an interface below. All templates are broadly categorized into four types – Business Essentials, General Purpose, Web Banners, and Social Graphics. The calendar comes under the General Purpose category. You can simply type ‘Calendar’ in any search boxes provided and select it to make it faster.
Watch the video below to find templates in DocHipo easily.
The Calendar templates are categorized into various industries like fashion and food and themes like kids, nature, and wildlife.
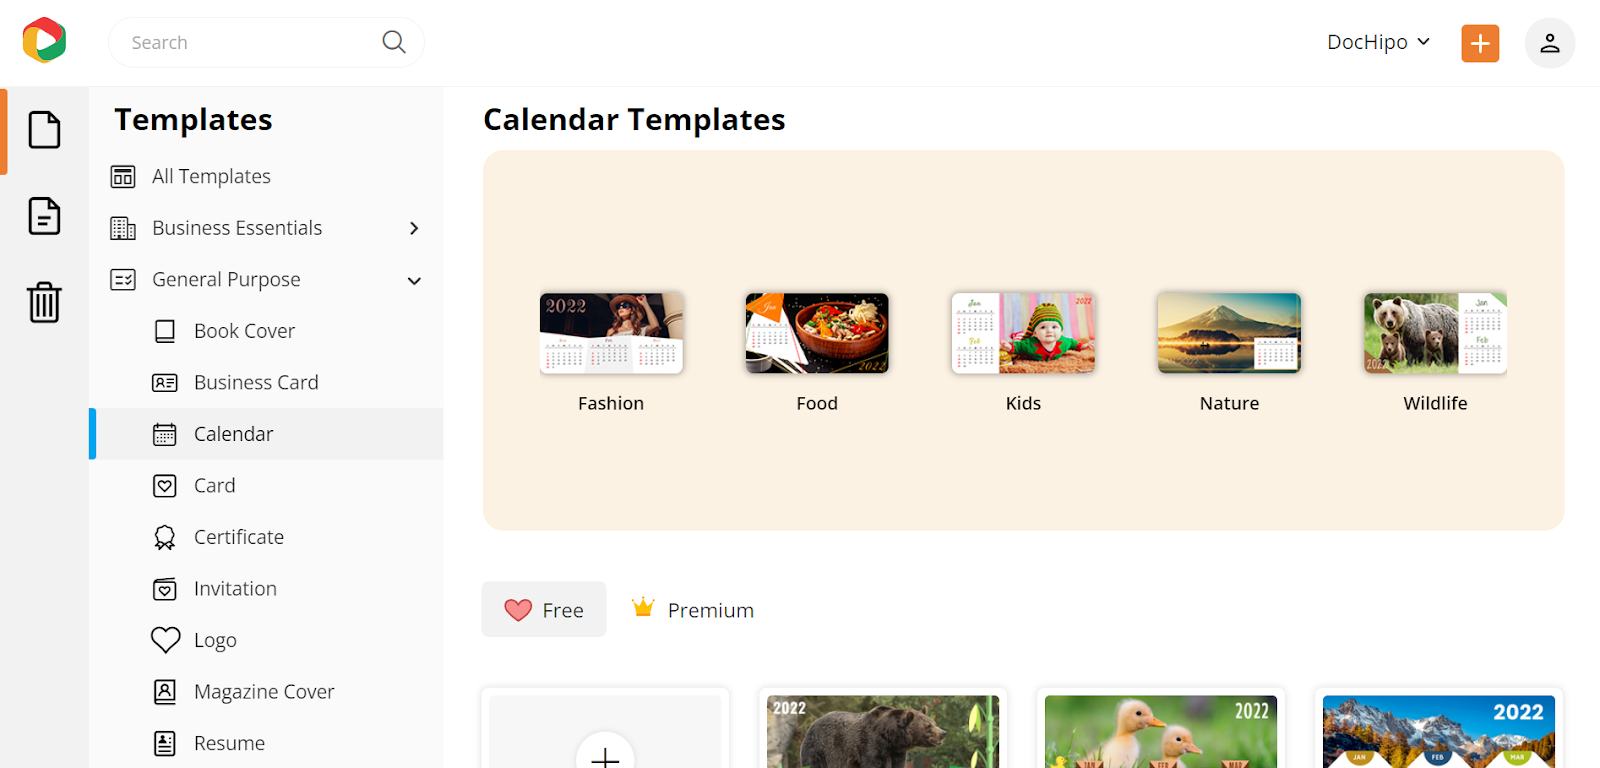
You can explore Calendar templates based on the industry you serve or any theme you want to work on.
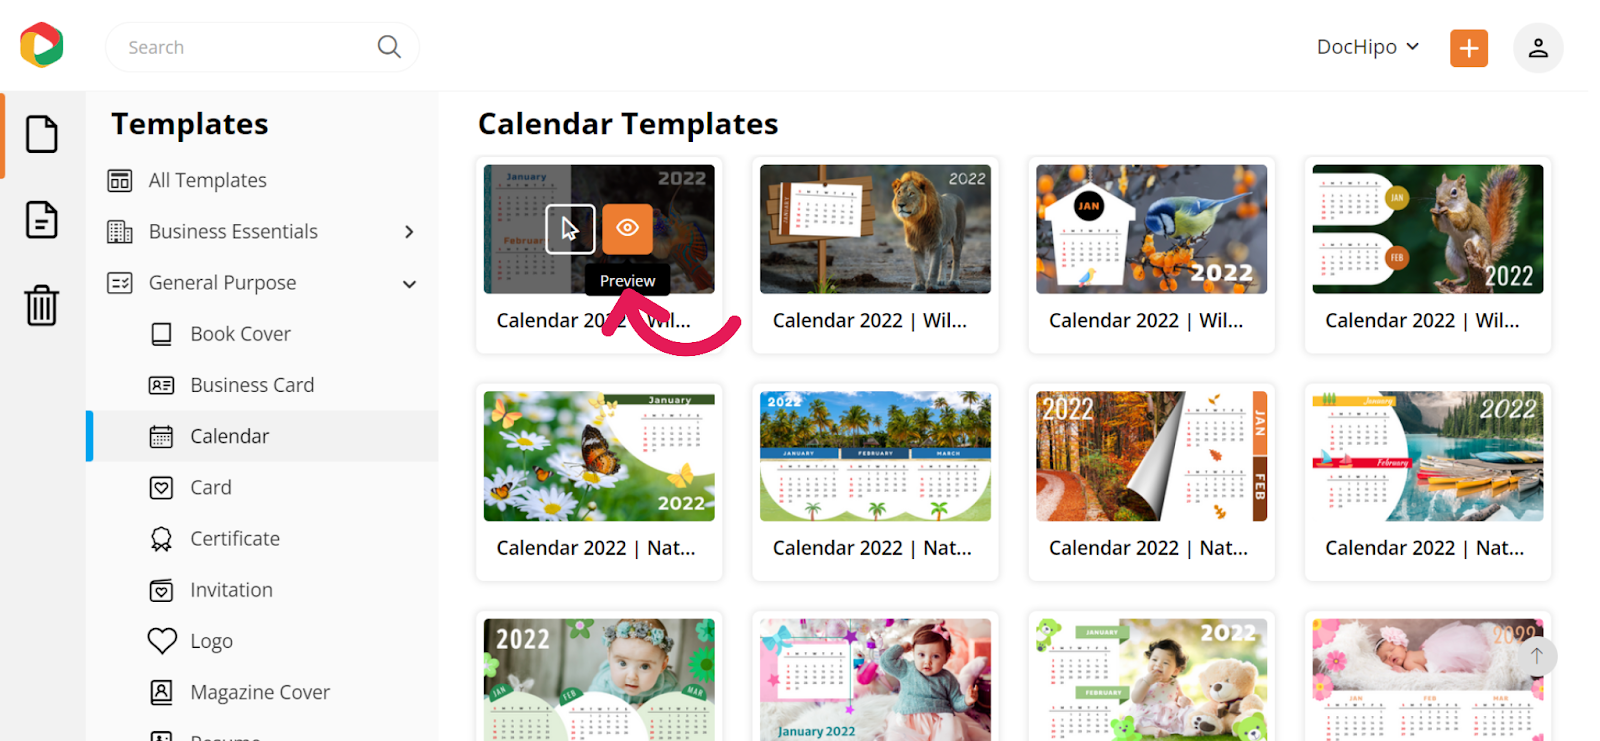
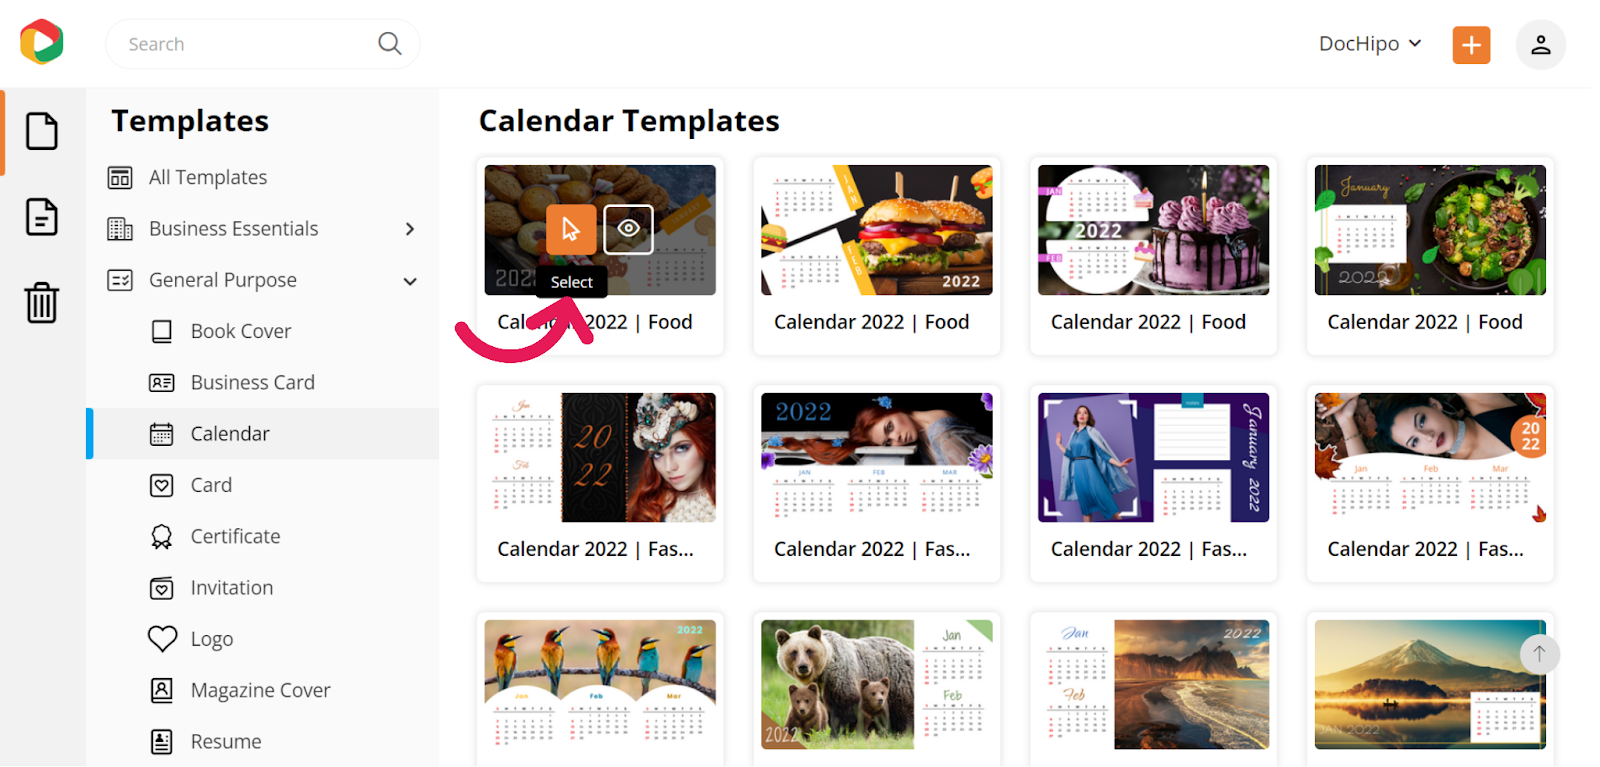
Hover your mouse over the template you like, either preview it before finalizing it or selecting it for starting your design.
Then add a name to the document you’re going to customize and a short description (optional) that you may want to refer to later. Click on ‘Next.’
Now moving ahead to how you can leverage DocHipo to design the calendar that aligns with your needs and liking.
STEP 2: Customize the Calendar Template the Way You Want
We’ll explore each of the design elements one by one.
Pictures Widget
You’ll find the Pictures widget under the ‘Graphics and Media’ tab.

Here you can experiment with and choose from a vast collection of high-quality images.

You can also upload pictures by clicking on the plus icon.
Pictures are available in various themes; select the one you need or search for it in the search box. I’m picking the ‘Nature And Landscapes’ theme for the demonstration purpose.

Look at this beautiful picture that I selected.

Don’t click on it; simply drag it toward the canvas and drop it on the existing background picture.

Now see the picture adjusted itself automatically.

If you don’t want a particular element on your calendar, just select it and press delete.
Uploads Widget
You can leverage the ‘Uploads’ Widget within the ‘Graphics and Media’ tab for uploading images from your device.

Now click the ‘Upload Images’ button and choose one from your device. Remember that the supported file formats are JPG, PNG, GIF, and SVG, and the maximum file size should be 5 MB.

You’ll get different options to edit the picture you have used, such as cropping it, changing the orientation and opacity, adding links, etc. Let’s see how you can add a filter.

You can experiment with the various filter options and click on the ‘Apply’ button.

Text editing options
You can edit any text with the below text editing options. According to your need and liking, you can change the text font family, font size, color, alignment, letter spacing, and so much more.

Illustrations and Stickers
Navigate to the ‘Stickers’ widget as shown below.

You’ll find illustrations and stickers on various themes from the drop-down menu. Let’s say you want to search for birds.

Then simply drag and drop it. Adjust its size, rotate or reposition it as needed with the easy-to-use editor.
If you want, you can also change the color of the existing ones.

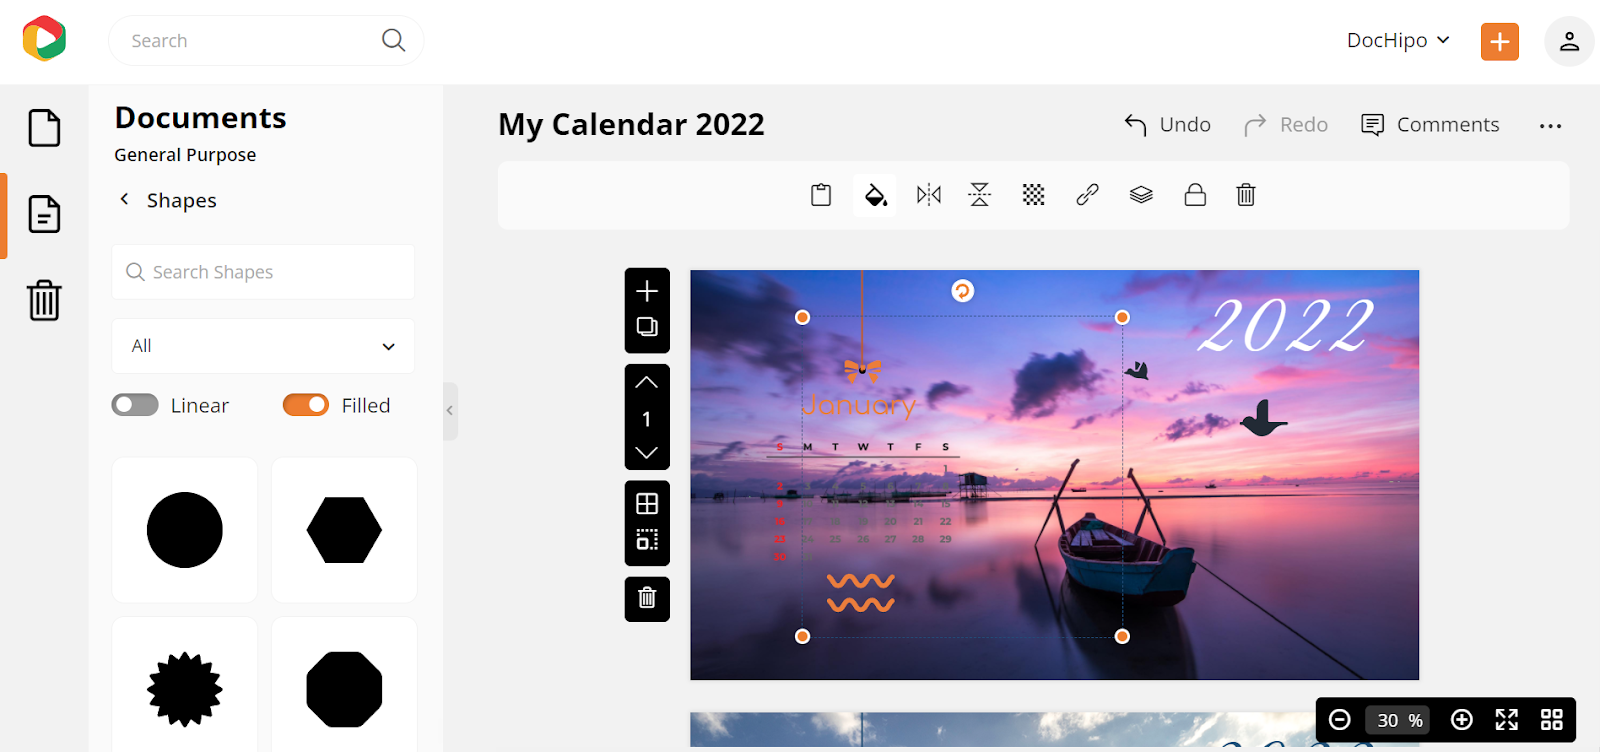
Come, let’s explore another widget, ‘Shapes.’
Shapes
You’ll find the ‘Shapes’ widget under the same ‘Graphics and Media’ tab.

Here you get two different options – Linear and Filled. You’ll probably need the filled one for this document type.
Keep scrolling until you find a shape that appropriately fits your needs. Let’s select this hexagon.

Similarly, after dropping it on the canvas, you can increase its size and change its color.

After deleting the existing shape, drag the new one toward the calendar. Bring the shape above each of the elements you want to display above the shape. Right-click on the hexagonal shape and click on the ‘Send to Back’ option.

After clicking on the ‘Send to Back’ option, the canvas will look like this:
Now select the background picture, right-click it, and choose the ‘Send to Back’ option again. You’ll get to see the shape in front of the background picture. Adjust its position.


So you see, you have the complete flexibility to customize the template the way you want. Read The Ultimate Guide to Using the DocHipo Editor if you want to learn more about it.
You can also watch the video below.
STEP 3: Download Your Personalized Calendar
Once you are delighted with your personalized calendar for 2024, you may download it by clicking on the three horizontal dots.

Select your file type and quality and click the ‘Download’ button.

Before customizing:

After customizing:

Final Words
Now that you know how to turn DocHipo’s beautiful calendar templates into an utterly personalized calendar, sign up to DocHipo, design one for yourself, gift your loved ones or clients and strengthen your bonding. The design widgets and the drag-and-drop editor are all set to help you add your personal touch to your calendar, which will stay with your recipient throughout the year and beyond. I hope this unique way of starting a new year will bring a smile to your recipients.